
For the past six years, one bathroom surprisingly served our family of four well. This year, as part of a larger renovation, we finally added a second bathroom—and it feels luxurious after so long. Below I’ll explain why we decided to add it, where we placed it, and how we solved the space and code challenges to build a functional ensuite in our modest home.
We recorded two video tours of the finished space: a short walk-through to give you orientation and a longer, more detailed tour that covers decisions and function. If you enjoy video, those provide a quick, immersive look at the new ensuite and some of the downstairs renovation that accompanied it.
New Bathroom Video Tours
The short tour begins in the new “lounge” area adjacent to the bedroom and leads into the ensuite, giving a sense of how the spaces connect. The more detailed tour walks through each design choice and explains how the room functions in daily life. Both tours complement the photos and descriptions below.
Now for a little backstory before the after pictures and design details.
Why We (Finally) Added a Bathroom
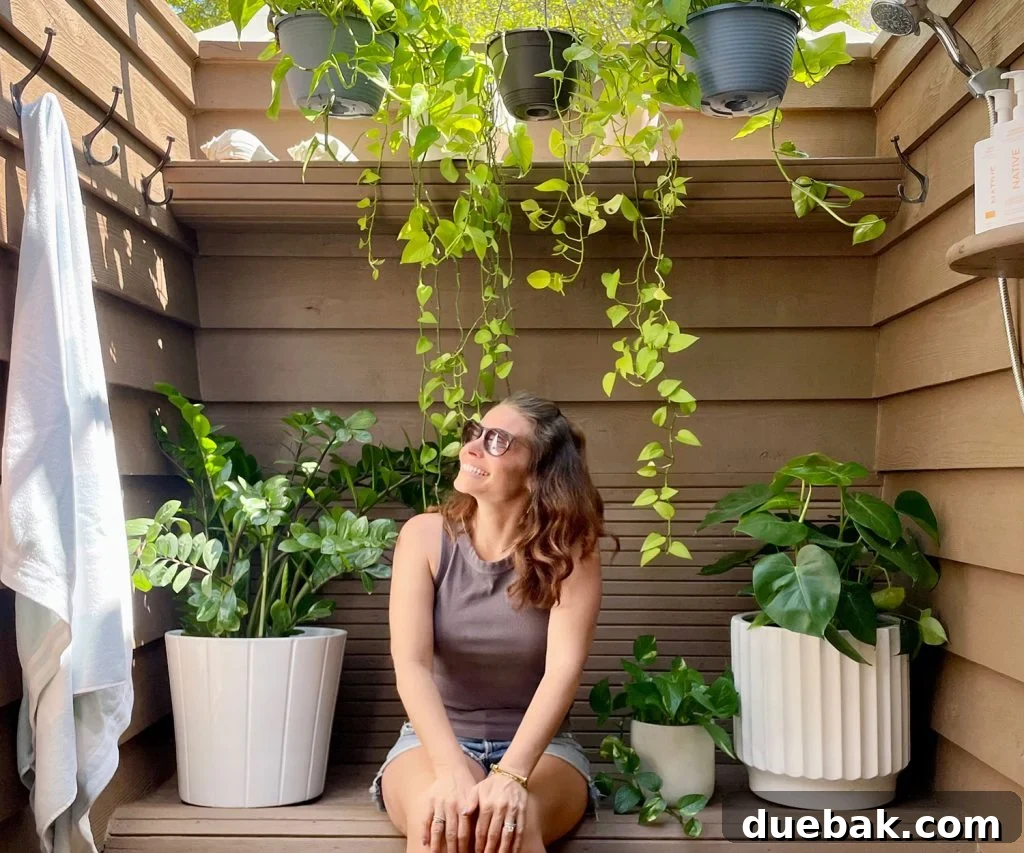
When we moved in 2020 we expected a second bathroom would be a high priority. Living with a single bathroom as a family of four was new for us, but the pandemic and our outdoor shower made it manageable. The decision to add a bathroom came later when we planned a larger downstairs renovation to open up sightlines to the backyard pool and enlarge our son’s room. With the house already being renovated, it made financial and logistical sense to add the ensuite while crews were on site: the framing, electrical, and drywall work would overlap and reduce incremental costs.
Before committing, we had to settle on placement and layout—no small task in a quirky, angled bedroom. We explored many configurations and weighed code clearances, door swings, and how to preserve bedroom function while carving out an ensuite.
Laying Out Our Second Bathroom
The obvious location was a bedroom corner that allowed a full bathroom without dramatically changing the room’s use. We would lose some storage and the room’s L-shaped footprint would become more rectangular, which actually clarified the space.
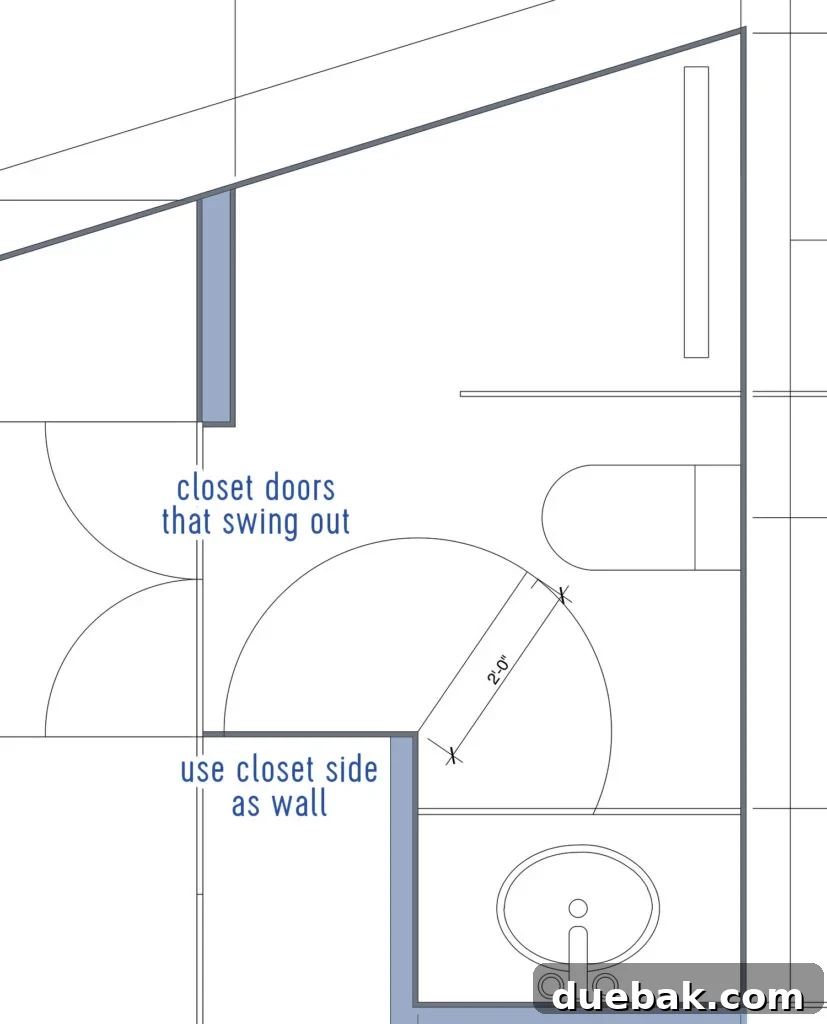
We sketched rough plans for our contractor and then iterated obsessively, testing toilet clearances, door widths, and shower footprints. A pocket door sounded ideal until we checked code: the required door width wouldn’t fit in the wall cavity. That forced us to reimagine the entry and ultimately led to two clever solutions that unlocked the layout:
- Use a matching set of closet-style doors—similar to nearby wardrobes—as the bathroom entry. They mount on a thinner side panel, saving space that would have been consumed by a bulky door jamb and swing. From the bedroom they read as part of the closet wall, creating a subtle, integrated look.
- Use the side of an Ikea wardrobe as an actual bathroom wall instead of building a full framed partition. That saved nearly a foot of linear space and gave the bathroom crucial inches to meet code while keeping the room feeling open.
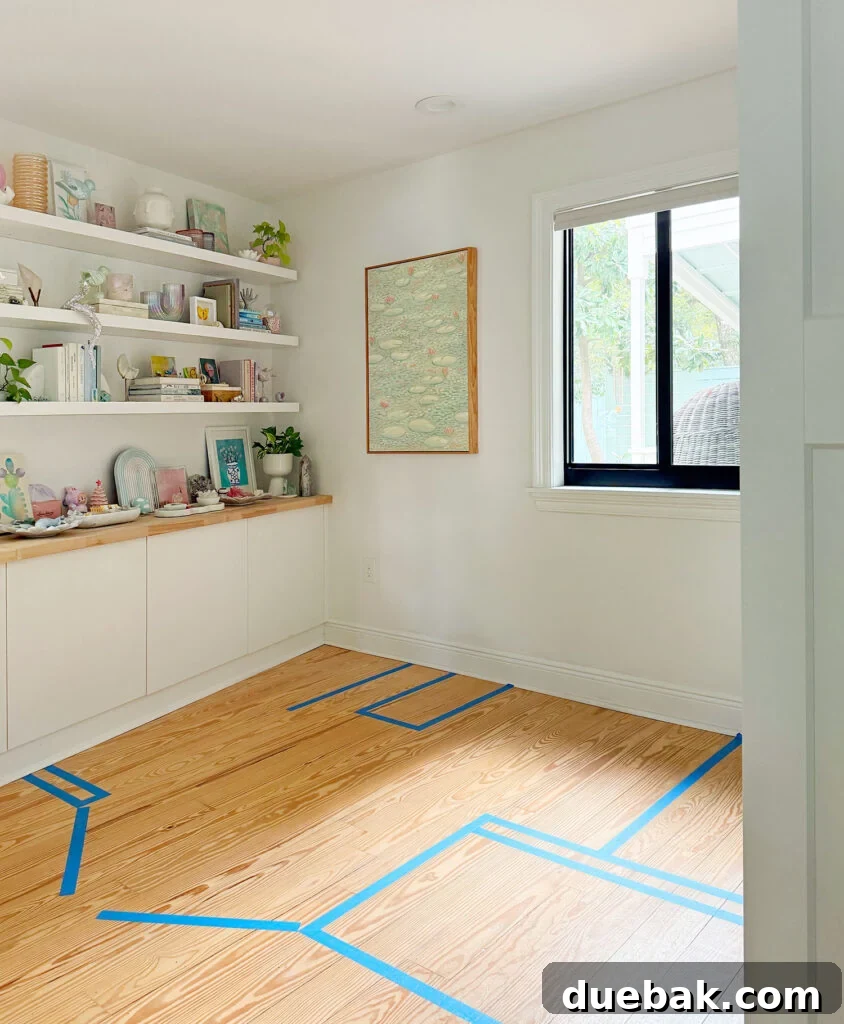
We taped out the plan on the floor and lived with it for a few days to be sure. Walking the layout helped confirm sightlines and circulation, and convinced us this was the right solution. Photoshop mockups helped visualize the bedroom-facing elevation so we could refine door placement and the balance of built-ins.
Bathroom Construction Progress
Construction proceeded smoothly under our contractor. One notable detail: we avoided framing the wardrobe sides so the back of the wardrobe sits against stud framing only. That shave of space translated into more usable interior room. The team added thin wood panels to the exposed wardrobe sides for finish and strength.
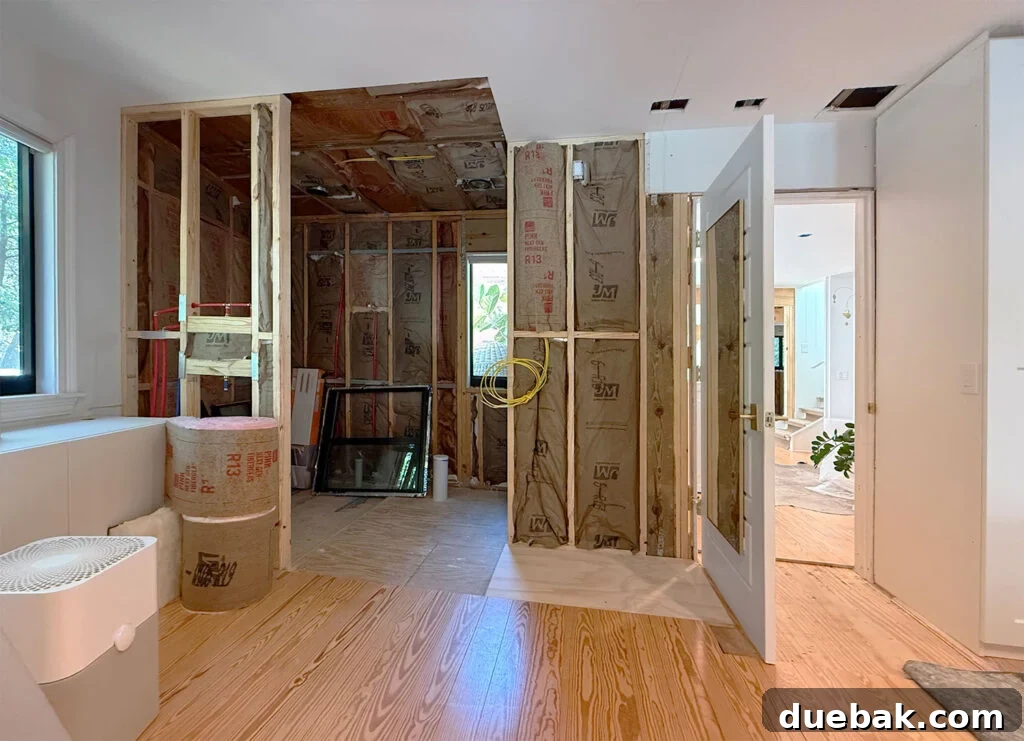
Drywall, waterproofing, plumbing, and finishes followed in a straightforward sequence. A few small surprises arose, but they were handled without drama. With construction complete, the material and finish choices became the focus.
Bathroom Afters
From the bedroom, the entry reads as part of the closet wall. The closet-style doors create a hidden-room effect that keeps the bedroom elevation tidy and balanced. The opening itself is nearly 35″ wide, and because the doors swing out, they don’t intrude into the bathroom’s usable space.
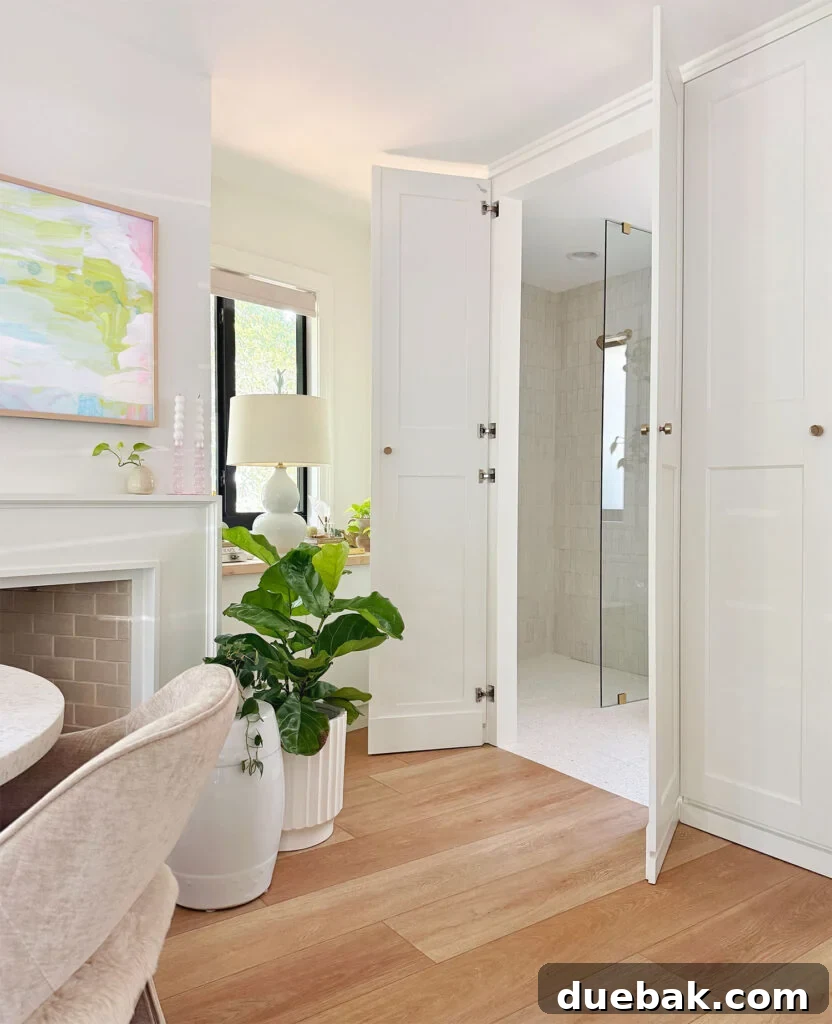
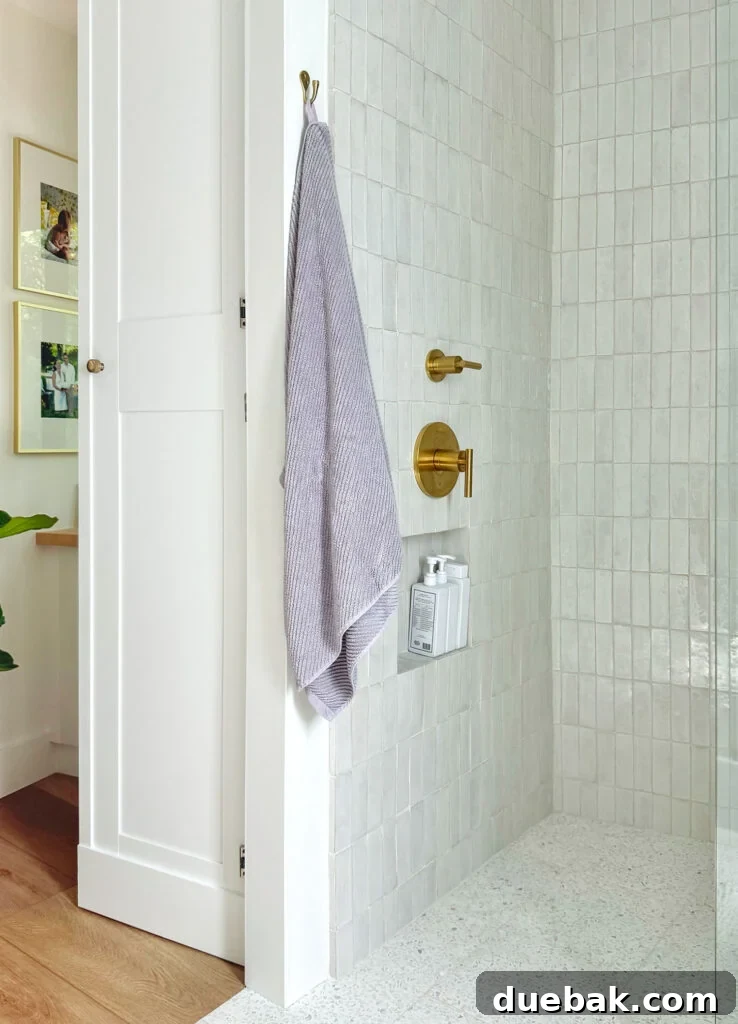
We prioritized making the shower feel open and bright. To avoid a cramped feel we installed glossy white zellige wall tile, a frameless glass panel, and a curbless, zero-entry shower. The shower spans 5′ across and, thanks to an angled wall, is widest where you stand—about 4′ under the shower head—so it feels generous despite the small footprint.
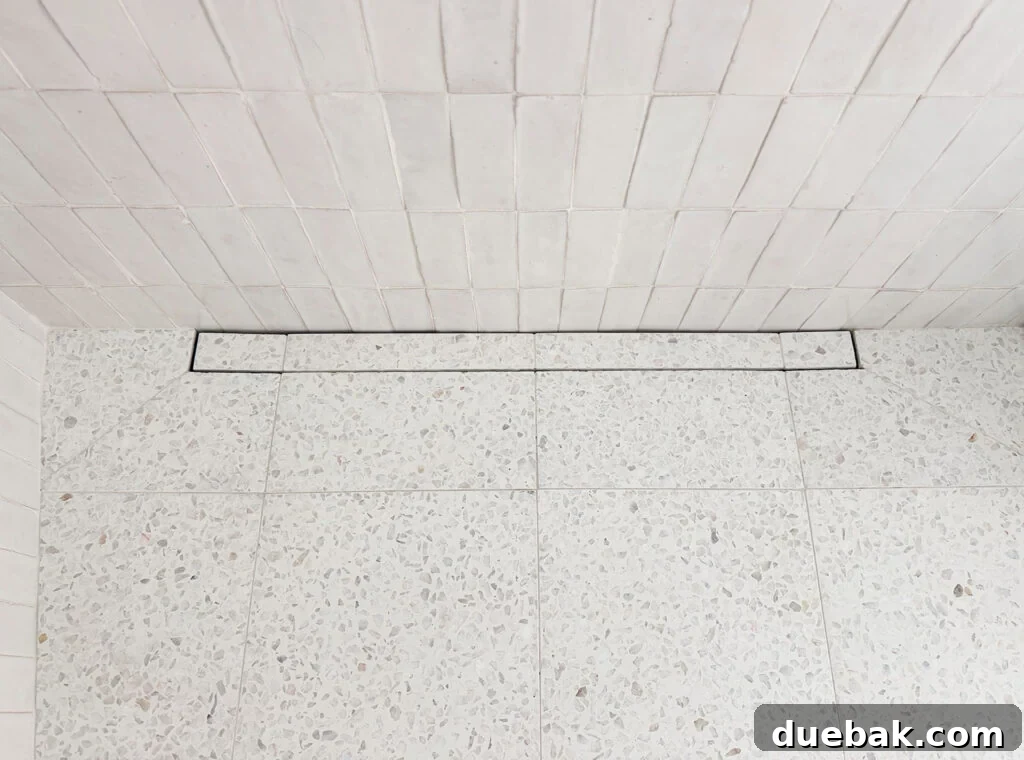
A linear drain solved a structural constraint: a floor joist prevented a centered drain. The linear drain allowed plumbing offset and a single-direction slope toward the wall, which simplified the tile work and gives a clean, integrated look when tile is inset into the drain cover.
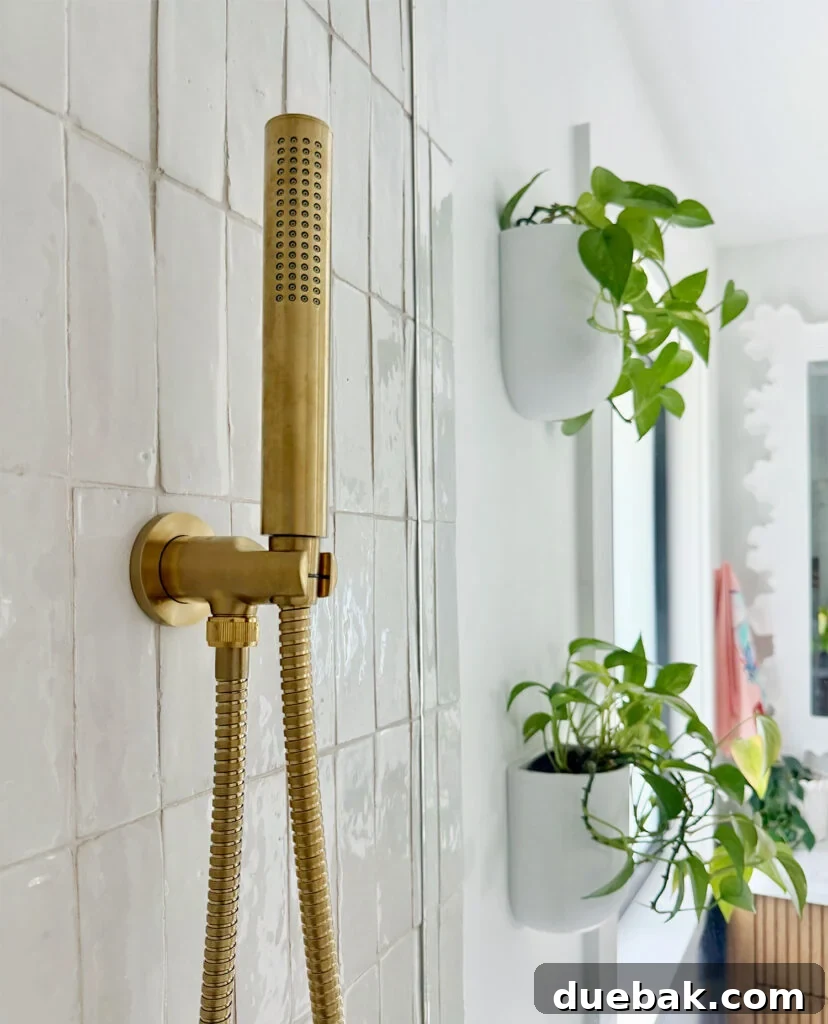
We kept fixtures simple: a shower head and a wall-mounted hand sprayer. The controls are placed on the opposite wall so you can turn water on without getting wet, and a discreet niche holds toiletries out of sight. These choices maximize usable space while keeping the design clean.
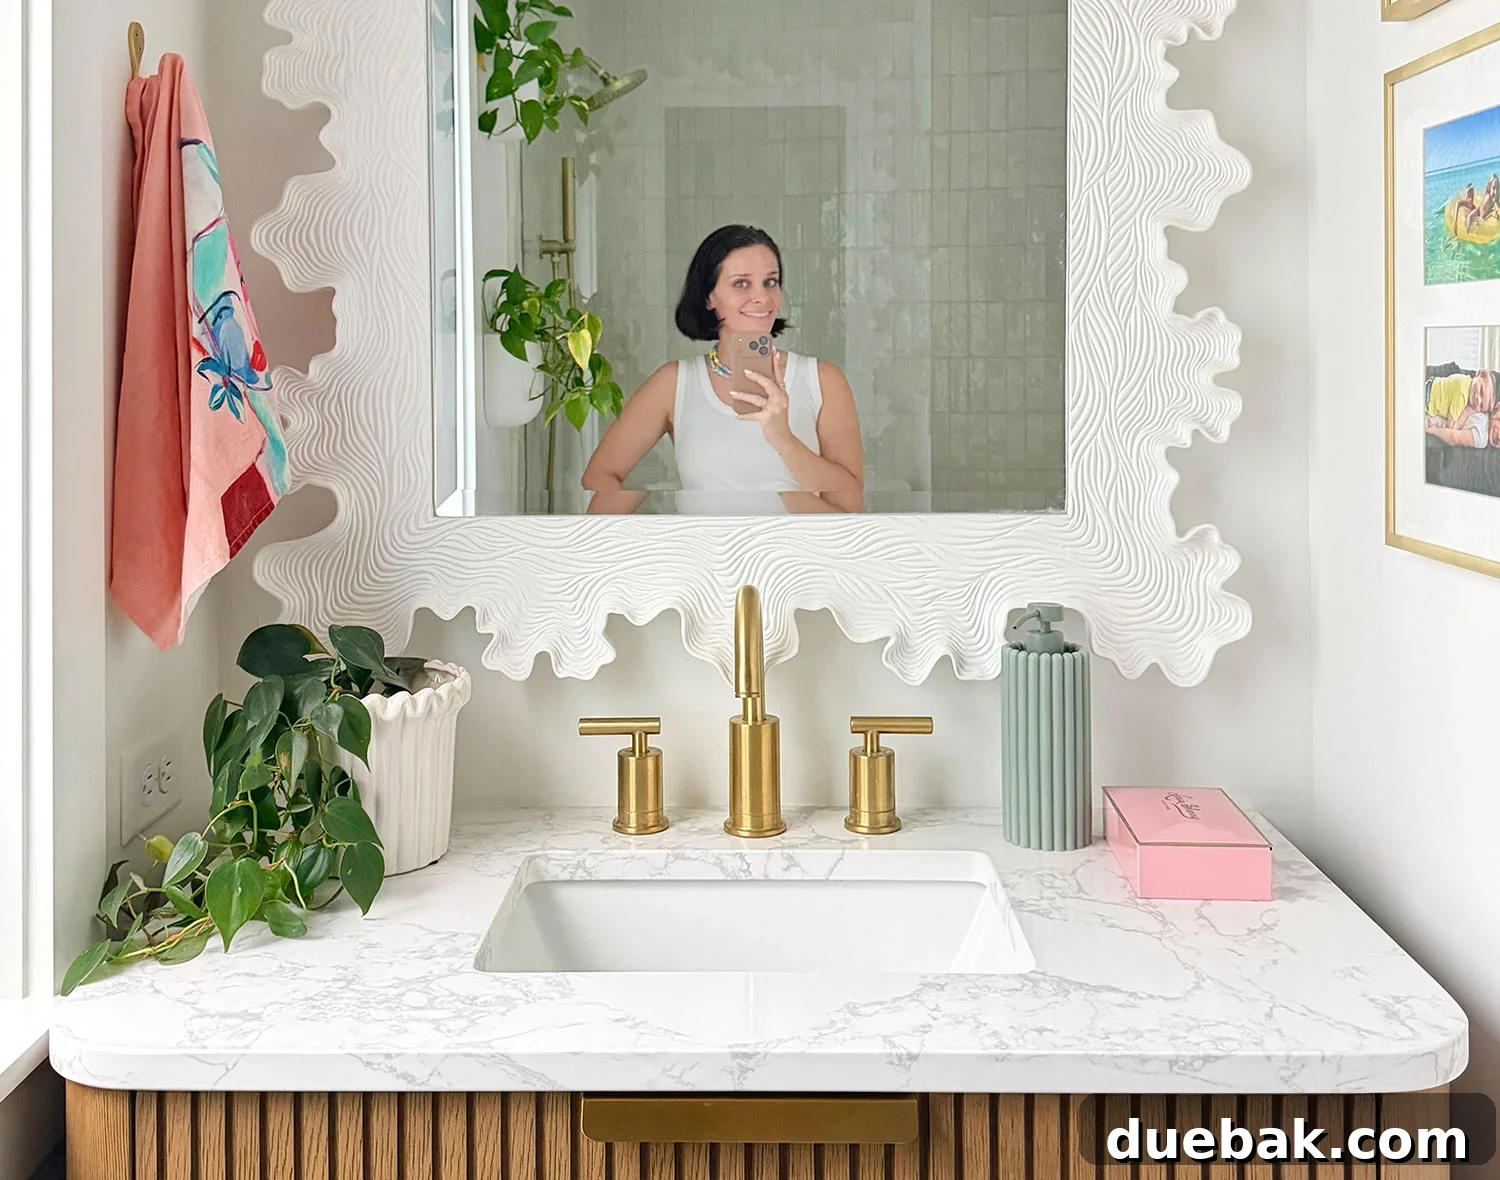
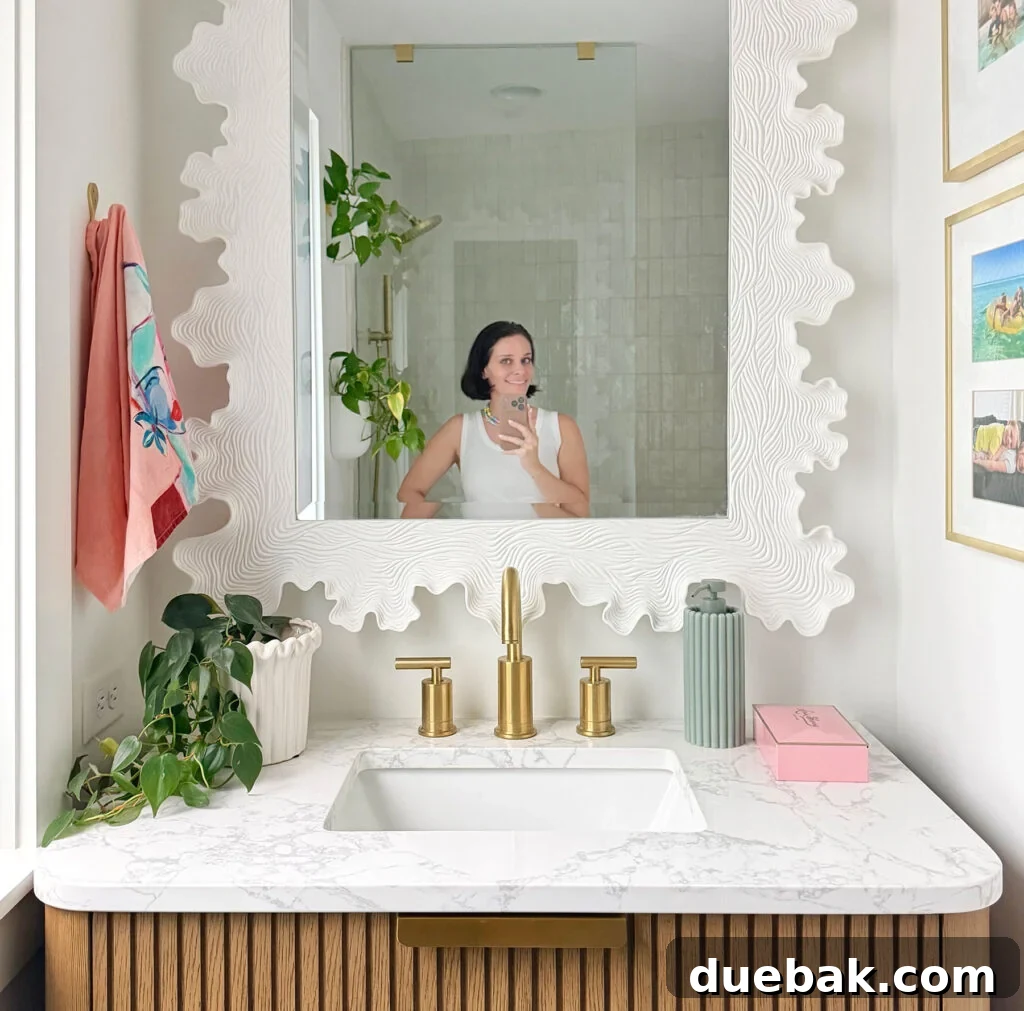
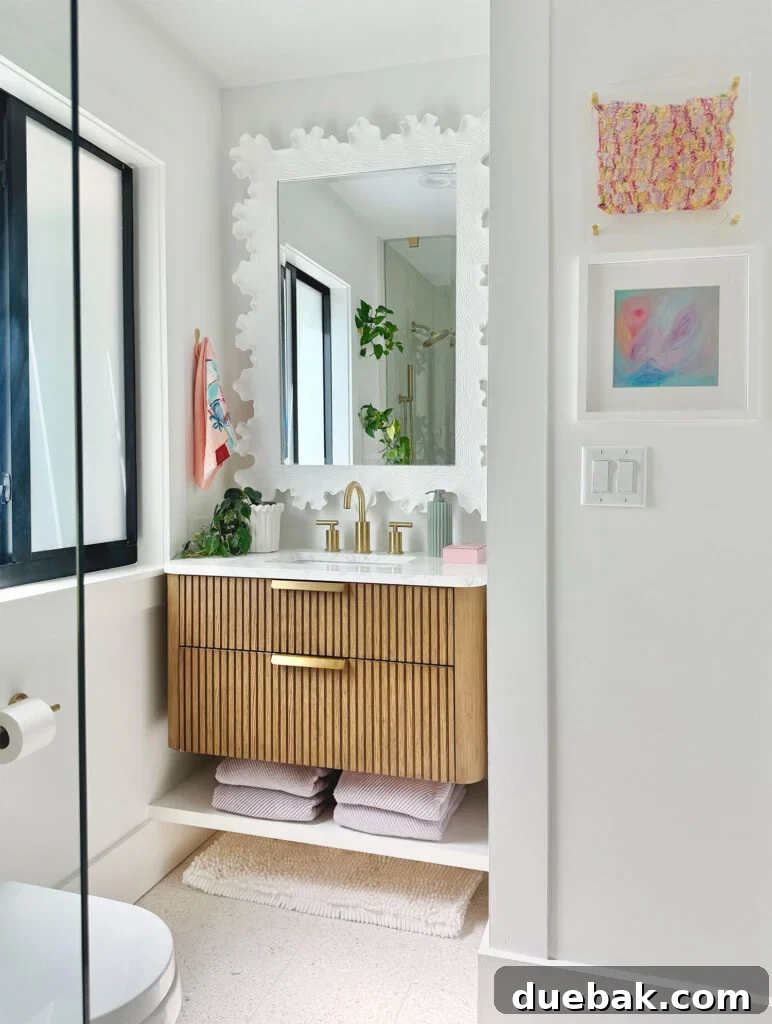
On the vanity wall we chose a floating wood vanity to preserve visual floor space. The vanity offers good storage and came with an engineered marble top and brass hardware that coordinates with the shower fixtures. A large mirror, repurposed from our bedroom, helps bounce light and make the room feel larger.
We also installed electric heated floors because routing HVAC to this corner wasn’t feasible and tile floors can get very cold. The thermostat sits above the vanity, and warmed tile has quickly become a favorite convenience for the whole family (and the pets).
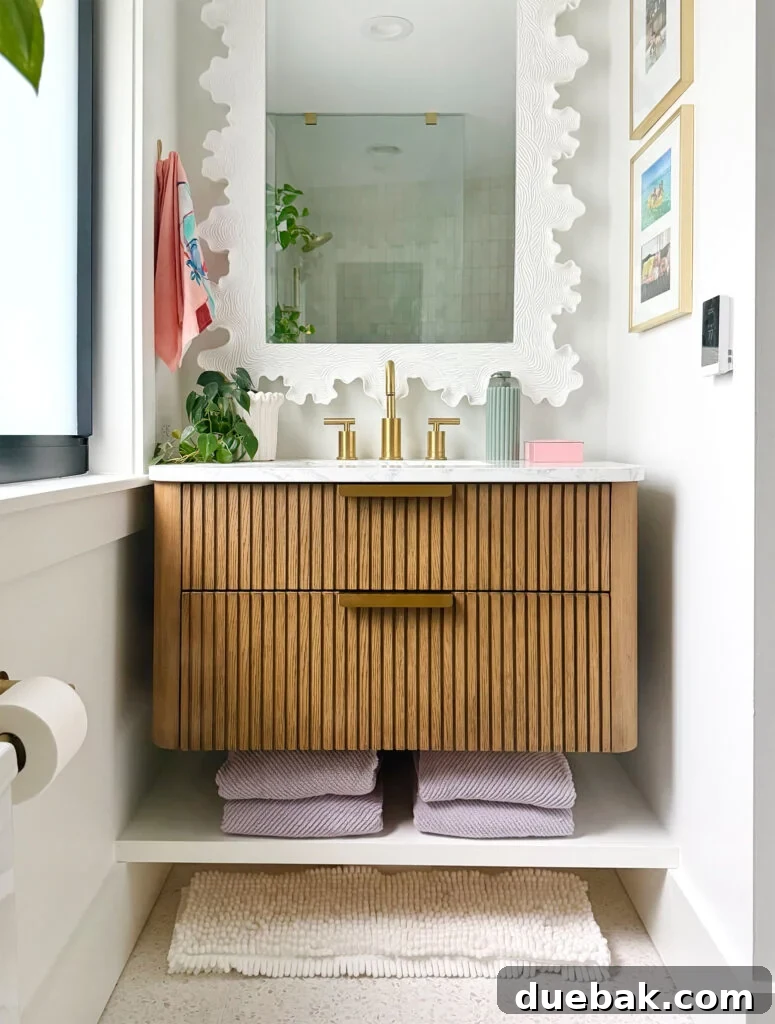
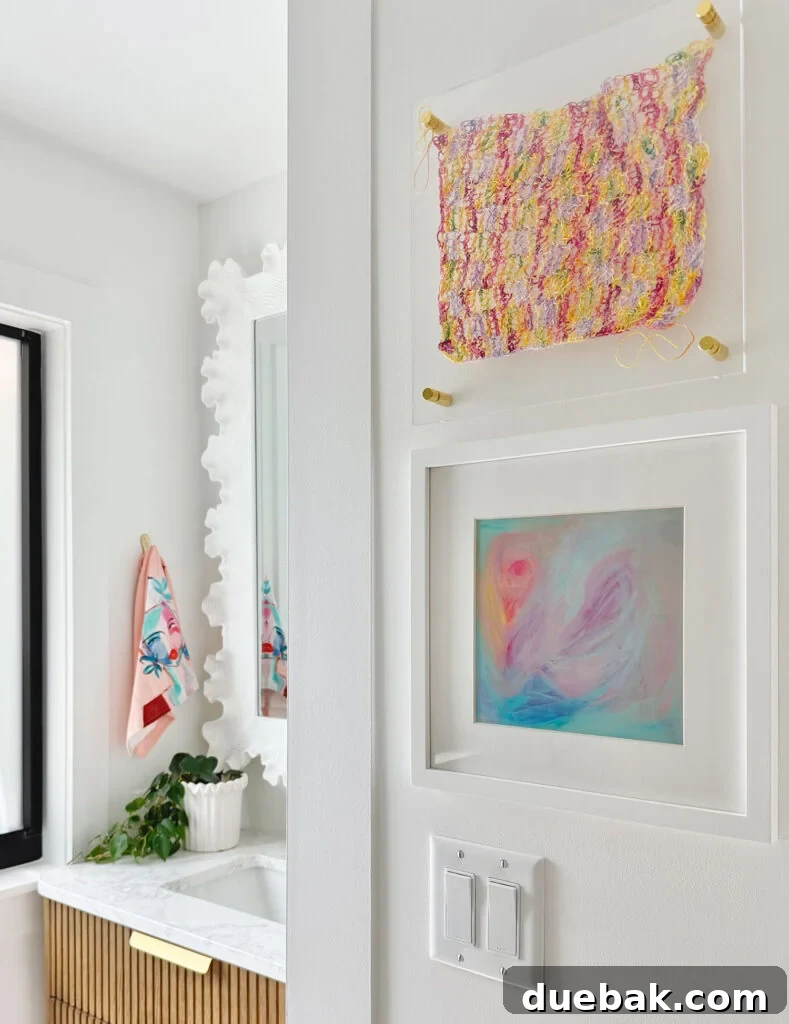
The finishing touches—colorful art, towels, a soap pump, small storage accents, and fresh greenery—make the room feel cheerful and personal. Texture from glossy tile, the mirror edge, and the sculptural wood vanity all contribute to a layered, lived-in look.
After six and a half years in this house, it’s gratifying to see how thoughtful changes have transformed it from a one-bedroom, one-bath layout to a three-bedroom, two-bath family home. Renovations are demanding, but when they’re complete the payoff can be immediate and joyful. We’re thrilled with how this ensuite came together and how it improved daily life and the flow of our home.
Bathroom Sources
For convenience, here are the main products we used:
- Floor Tile: 12×12″ Dew Drop Terrazzo
- Shower Tile: 2×6″ Snow White Zellige
- Vanity: Floating wood vanity with top
- Sink Faucet: Contempra widespread faucet
- Shower Fixture: Contempra showerhead with sprayer
- Toilet: Compact toilet model
- Hand Towel: Leslie Weaver towel
- Gold Picture Frames: Thin metal frames
- Brass Knobs: Champagne bronze drum knobs
*Some items were purchased through affiliate links originally; this list is provided for reference.